Set Up OneDrive in Mac OS X
- Open your web browser and head to https://onedrive.live.com and click Download, then Download again under "OneDrive for Mac"
- Once the download has completed, open the downloaded package file and follow the default installer options
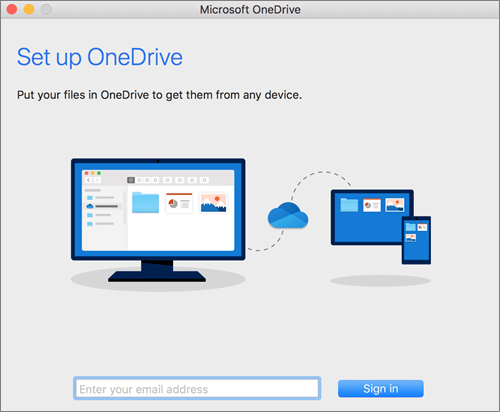
- Enter your Pickering email address and then password
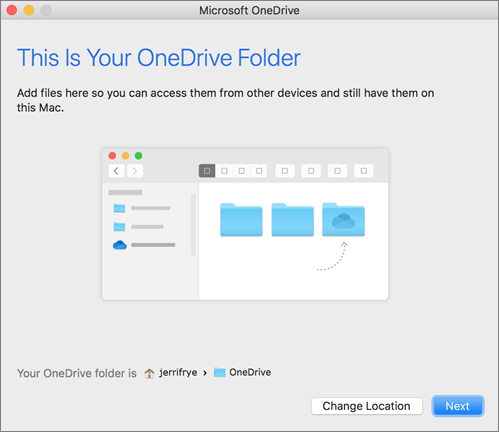
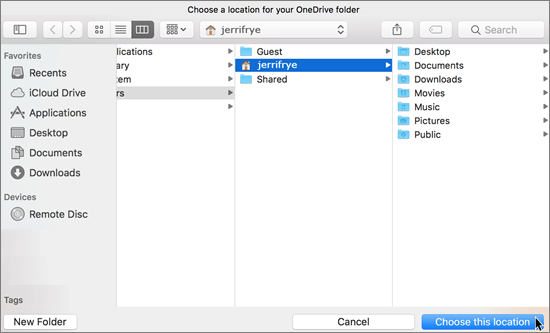
- Choose the location of your OneDrive folder on your Mac (all files placed in this folder will upload and sync to OneDrive in the cloud for access on other devices you use OneDrive)

- OneDrive should now be ready to use and you should see the new OneDrive cloud icon in the system tray

- Once your files have synced, you do have the option of choosing specific folders you want to keep available on your Mac at all times - for example, you may have uploaded files from another device using OneDrive. Folders/files selected here will be downloaded to your Mac so you can access them offline, or you can leave them unchecked.
Click on the OneDrive icon and click "More", followed by "Preferences", "Account" and finally "Choose folders"
- You can add the OneDrive folder to your favourites on your Mac but opening your OneDrive Folder from Finder > Recent folders > OneDrive.
Then click on the OneDrive folder at the top of the window and drag it into your Favourites list on the left.
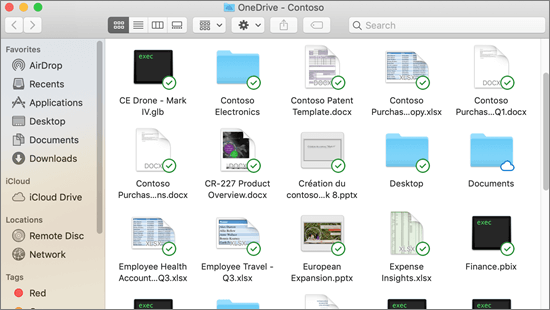
- You can also install the OneDrive Finder overlay extension - this will show you the sync status of files in your OneDrive - a green circle with a green tick means the file/folder has been downloaded and synced, and a cloud icon means it's stored only in the cloud but available if you try and access it.
In Finder, open System Preferences, and then choose "Extensions"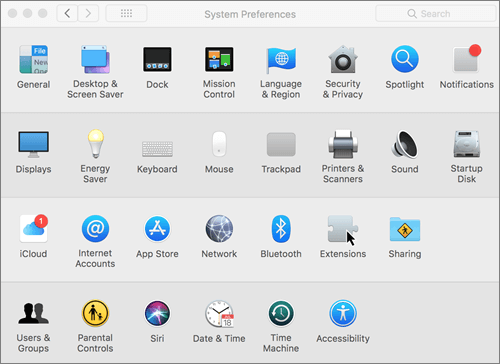
Then tick the Finder box under "OneDrive" and click OK
Now your OneDrive folder should look something like this